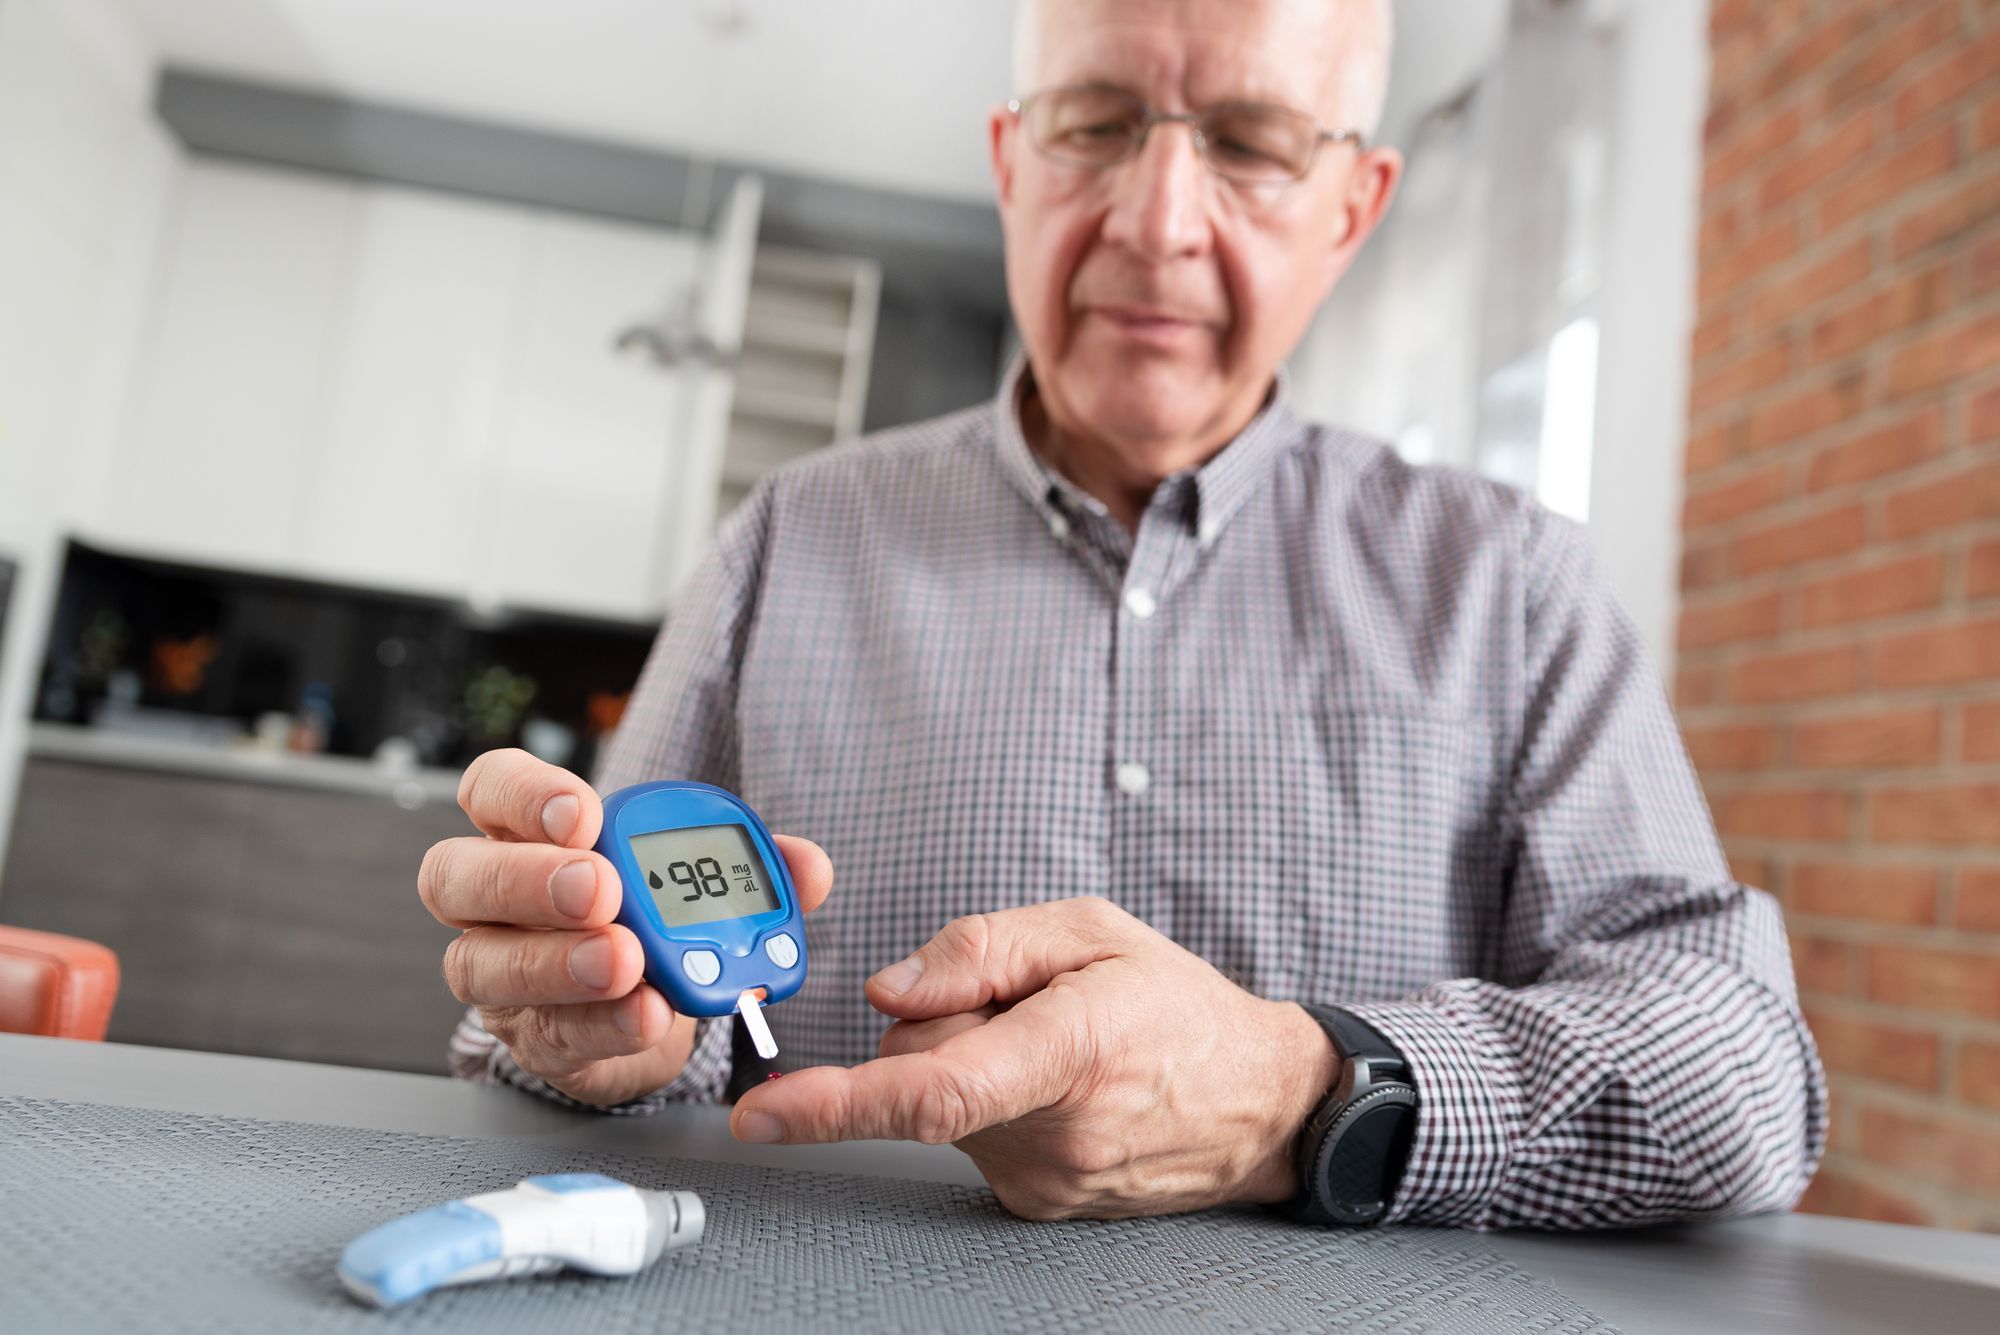
If you're a diabetic, you know that testing your blood sugar is an important part of your day. The results you see tells you whether you need to increase or decrease your insulin and whether you need to make any changes to your diet. Choosing the right glucose meter is easier when you know what you need.
Getting Started with Glucose Meters
A blood glucose meter is a simple device that offers big results. Most meters have a small hand-held design that you can hold in the palm of your hand. The newer devices are so small that you can tuck one in your purse, slide one in your pocket or even keep one in a desk at your workplace. Finding the right blood glucose meter is important. You want one that you can turn on and use in seconds rather than one that you need to research or read the instructional manual multiple times before using. Many also find it helpful to find out more about how the meters track glucose levels and whether the meter stores information for future use.
How to Choose a Blood Glucose Meter
A blood glucose meter gives you a reading within a few seconds that tells you what your current sugar level is right on the screen. If you have health insurance and recently received a diagnosis of having diabetes or low blood sugar, your insurance should cover the cost of your meter. You'll need to request a written prescription from your doctor and take it to the pharmacy. Depending on your coverage, your insurer may also cover the cost of test strips and other supplies. When selecting a new meter, there are some other things you'll also want to consider.
- Screen size. A blood glucose meter with a larger screen size can help you view your results quickly. Some of the newer models also feature back lighting that lets you better view those results in the dark or in a darker part of your home.
- Test strip cost. The manufacturers of testing meters sometimes price the meters cheaply and charge much more for the test strips in the hopes that you'll spend more over time. It may be worthwhile to spend more upfront on a new meter if the test strips are less expensive and if you need to use multiple strips every day.
- Memory space. Some blood glucose meters record your scores over the course of one week or longer and give you an overall average score when you test your blood. This can help you see when your sugar rises and falls.
- Type of battery. Some models run on smaller medical batteries that can last for months or even years. Others use AAA batteries that you can find in any store.
- Overall size. A smaller test meter isn't always the best. If you have a habit of losing things around the house, you might prefer a larger and more visible meter.
- Instant results. The top models on the market today give you your results in 10 seconds or less, but other designs can take 30 seconds or more to process your blood.
- Testing location. Many blood glucose meters require that you prick your finger and take a sample from your pointer finger or ring finger. Newer models now let you take samples from your arm and other parts of your body.
How to Use a Blood Glucose Meter
Learning how to use your blood glucose meter is important, but you might find that you can't understand the directions. Though all models are different, most work in the same way.
- Insert the test strip. Read the instructions that come with your meter. Some meters require that you input a code found on the strip container into the meter to ensure you used the right strips. Some meters ask that you insert the strip before taking your blood, while others require that you insert the strip and then take a sample.
- Clean your finger. Washing your hands with soap and water is a chore when you're on the go, but you can use an alcohol wipe to remove dirt and grime before taking a sample.
- Use a simple motion. Hold the lancet against your finger without pressing too hard. Squeeze the trigger and immediately put the lancet down. Place the strip near your finger and roll your finger across the strip until the meter recognizes your sample. Wait for the results.

